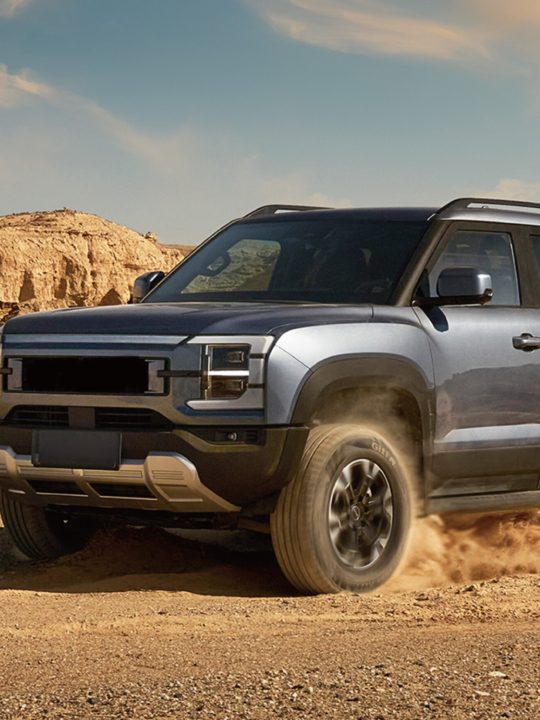
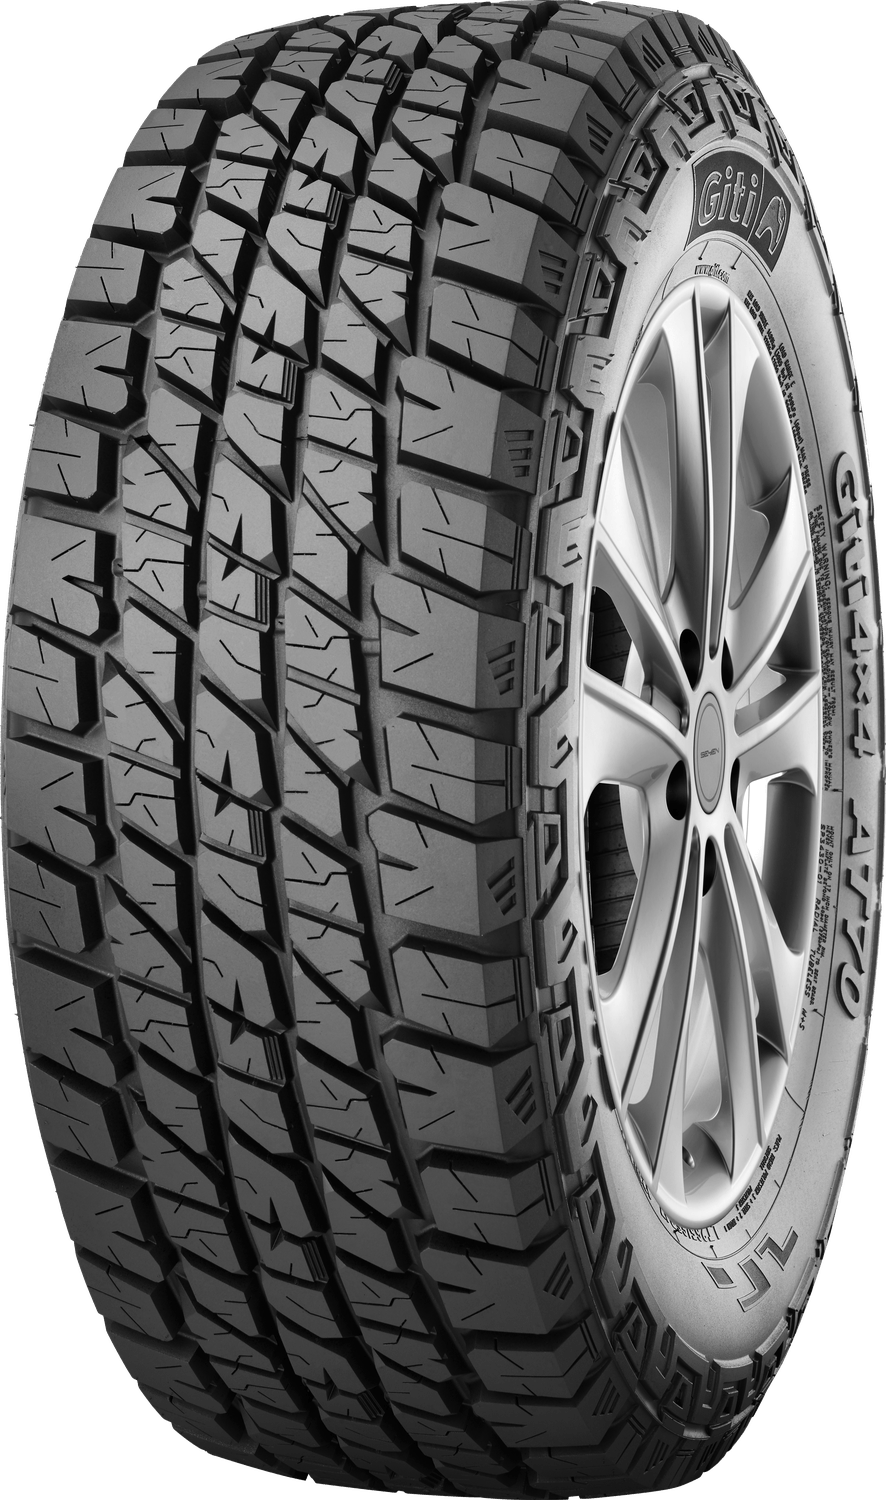
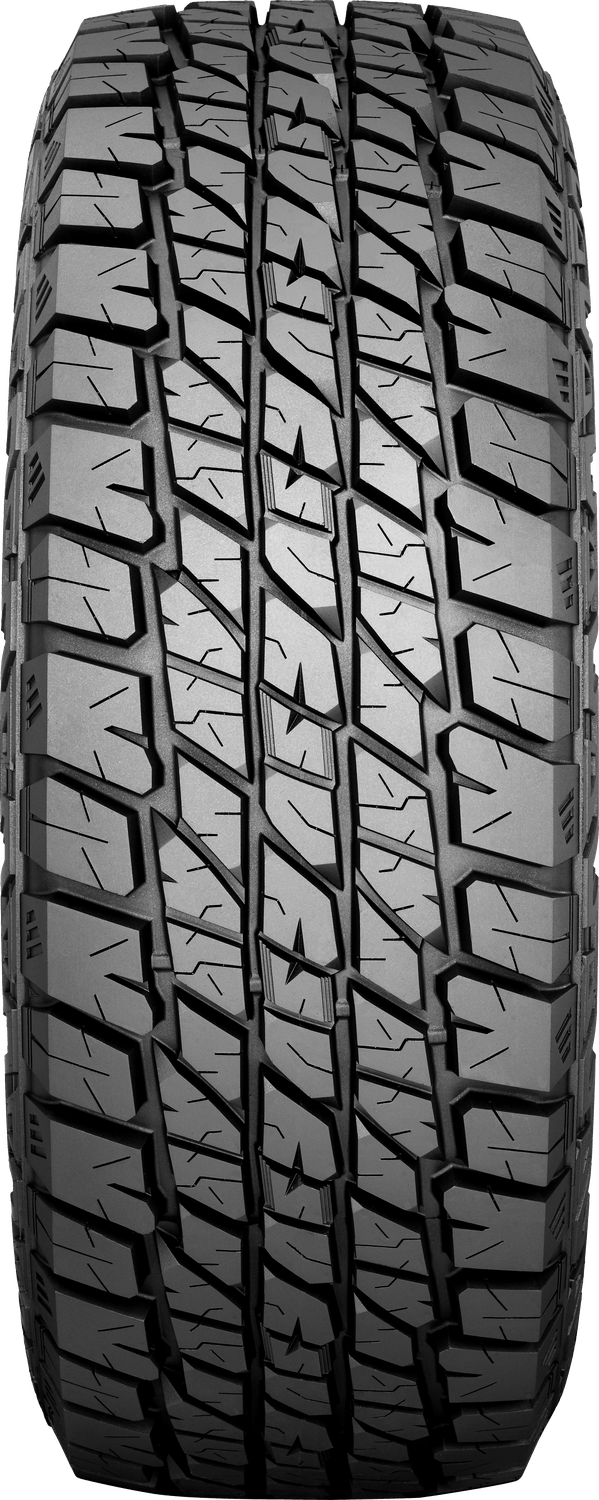
Designed for SUV and 4WD vehicles, the Giti 4x4 AT70 supports mixed driving with strong off-road traction, stable handling and durable construction across Australian road conditions.
The Giti 4×4 AT70 supports a balance of everyday on-road driving and light off-road use. It delivers stable handling on sealed roads while maintaining traction across gravel, dirt and uneven terrain, making it suitable for mixed driving conditions.
Wider tread increases road contact area to improve grip on sealed and loose surfaces
Advanced compound resists cuts and chips for longer tread durability
Multi-block pattern maintains tread stability for consistent handling
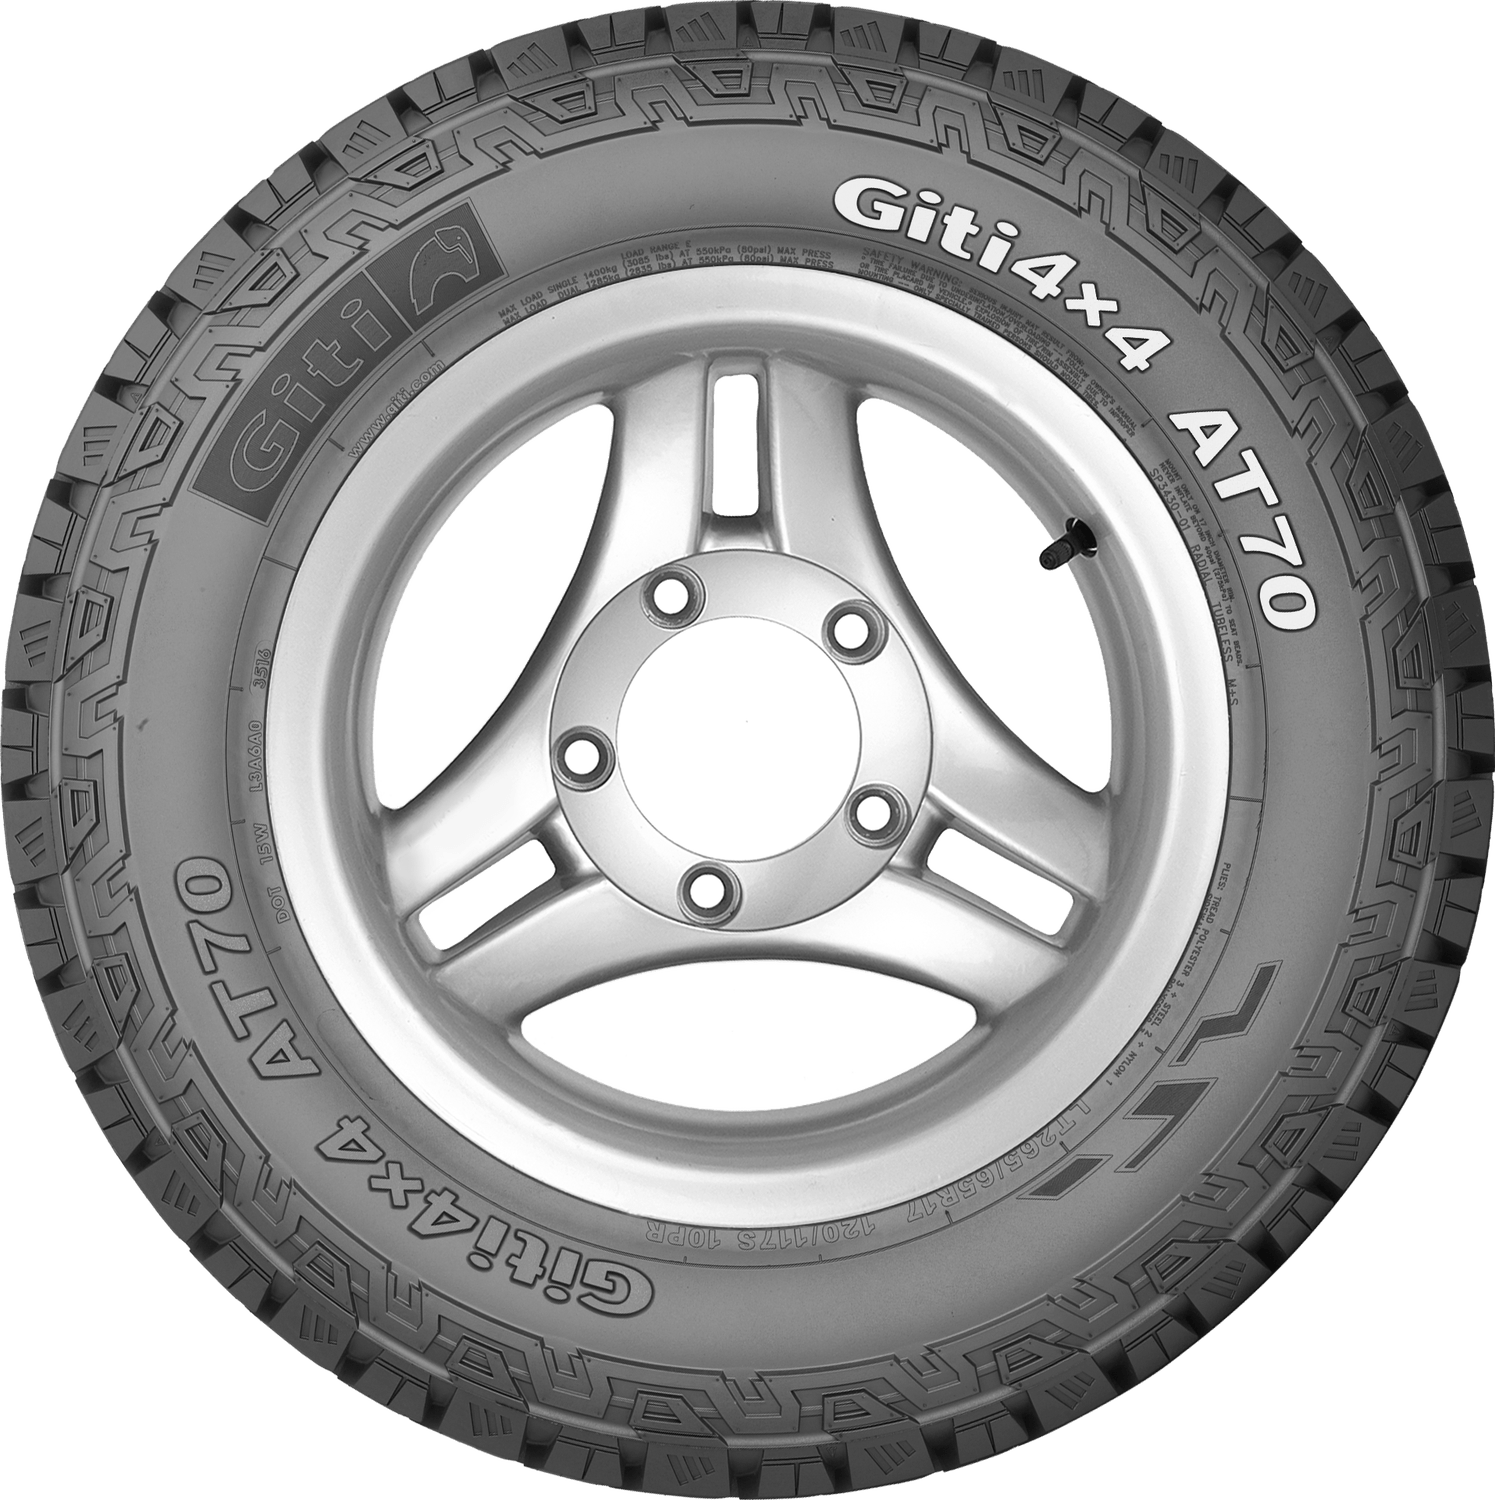
3-ply sidewall construction supports impact resistance on rough terrain
Deep tread design supports traction on gravel and uneven surfaces
Balanced design maintains ride comfort during highway driving
A wider tread design increases the surface area touching the road or track. This improves grip across bitumen and loose ground, helping maintain traction during varied driving conditions.
Advanced compound resists cuts and surface damage
The tread compound is designed to withstand sharp stones and rough surfaces. This reduces chipping and surface damage during gravel driving and corrugated road use.
Three ply sidewall with added thickness for protection
A reinforced three ply sidewall with up to 5 mm thickness increases resistance to impacts and punctures. This helps protect against damage from rocks and road edges in off road conditions.
Available sizes
Tyre Size
Rim Width
Rim Width
The manufacturer-approved wheel rim range for safe mounting, spanning from the Minimum Rim Width to the Maximum Rim Width.
Load & Speed Rating
Load & Speed RatingLoad Index (Single): A numerical code indicating the maximum weight capacity this single tyre can safely support. Load Index (Dual): The maximum load capacity rating per tyre when configured in a "dual" (twin-tyre) setup, common on light trucks. Speed Rating: An alphabetical letter indicating the maximum certified speed the tyre can safely sustain under its recommended load.
OD
Overall Diameter
The total height of the tyre from top to bottom in millimetres when fully inflated without a load.
Tread Depth
Sidewall
225/75 R16
Rim Width
Rim Width
The manufacturer-approved wheel rim range for safe mounting, spanning from the Minimum Rim Width to the Maximum Rim Width.
6 - 7
Load & Speed Rating
Load & Speed RatingLoad Index (Single): A numerical code indicating the maximum weight capacity this single tyre can safely support. Load Index (Dual): The maximum load capacity rating per tyre when configured in a "dual" (twin-tyre) setup, common on light trucks. Speed Rating: An alphabetical letter indicating the maximum certified speed the tyre can safely sustain under its recommended load.
118/116S
OD
Overall Diameter
The total height of the tyre from top to bottom in millimetres when fully inflated without a load.
Rim Width
The manufacturer-approved wheel rim range for safe mounting, spanning from the Minimum Rim Width to the Maximum Rim Width.
6 - 7.5
Load & Speed Rating
Load & Speed RatingLoad Index (Single): A numerical code indicating the maximum weight capacity this single tyre can safely support. Load Index (Dual): The maximum load capacity rating per tyre when configured in a "dual" (twin-tyre) setup, common on light trucks. Speed Rating: An alphabetical letter indicating the maximum certified speed the tyre can safely sustain under its recommended load.
120/116S
OD
Overall Diameter
The total height of the tyre from top to bottom in millimetres when fully inflated without a load.
Rim Width
The manufacturer-approved wheel rim range for safe mounting, spanning from the Minimum Rim Width to the Maximum Rim Width.
6.5 - 8
Load & Speed Rating
Load & Speed RatingLoad Index (Single): A numerical code indicating the maximum weight capacity this single tyre can safely support. Load Index (Dual): The maximum load capacity rating per tyre when configured in a "dual" (twin-tyre) setup, common on light trucks. Speed Rating: An alphabetical letter indicating the maximum certified speed the tyre can safely sustain under its recommended load.
111T XL
OD
Overall Diameter
The total height of the tyre from top to bottom in millimetres when fully inflated without a load.
Rim Width
The manufacturer-approved wheel rim range for safe mounting, spanning from the Minimum Rim Width to the Maximum Rim Width.
7 - 8
Load & Speed Rating
Load & Speed RatingLoad Index (Single): A numerical code indicating the maximum weight capacity this single tyre can safely support. Load Index (Dual): The maximum load capacity rating per tyre when configured in a "dual" (twin-tyre) setup, common on light trucks. Speed Rating: An alphabetical letter indicating the maximum certified speed the tyre can safely sustain under its recommended load.
110T
OD
Overall Diameter
The total height of the tyre from top to bottom in millimetres when fully inflated without a load.
Rim Width
The manufacturer-approved wheel rim range for safe mounting, spanning from the Minimum Rim Width to the Maximum Rim Width.
7 - 9
Load & Speed Rating
Load & Speed RatingLoad Index (Single): A numerical code indicating the maximum weight capacity this single tyre can safely support. Load Index (Dual): The maximum load capacity rating per tyre when configured in a "dual" (twin-tyre) setup, common on light trucks. Speed Rating: An alphabetical letter indicating the maximum certified speed the tyre can safely sustain under its recommended load.
121/118R
OD
Overall Diameter
The total height of the tyre from top to bottom in millimetres when fully inflated without a load.
Rim Width
The manufacturer-approved wheel rim range for safe mounting, spanning from the Minimum Rim Width to the Maximum Rim Width.
7.5 - 9
Load & Speed Rating
Load & Speed RatingLoad Index (Single): A numerical code indicating the maximum weight capacity this single tyre can safely support. Load Index (Dual): The maximum load capacity rating per tyre when configured in a "dual" (twin-tyre) setup, common on light trucks. Speed Rating: An alphabetical letter indicating the maximum certified speed the tyre can safely sustain under its recommended load.
121/118S
OD
Overall Diameter
The total height of the tyre from top to bottom in millimetres when fully inflated without a load.
Rim Width
The manufacturer-approved wheel rim range for safe mounting, spanning from the Minimum Rim Width to the Maximum Rim Width.
7 - 8
Load & Speed Rating
Load & Speed RatingLoad Index (Single): A numerical code indicating the maximum weight capacity this single tyre can safely support. Load Index (Dual): The maximum load capacity rating per tyre when configured in a "dual" (twin-tyre) setup, common on light trucks. Speed Rating: An alphabetical letter indicating the maximum certified speed the tyre can safely sustain under its recommended load.
111T
OD
Overall Diameter
The total height of the tyre from top to bottom in millimetres when fully inflated without a load.
Rim Width
The manufacturer-approved wheel rim range for safe mounting, spanning from the Minimum Rim Width to the Maximum Rim Width.
7.5 - 8.5
Load & Speed Rating
Load & Speed RatingLoad Index (Single): A numerical code indicating the maximum weight capacity this single tyre can safely support. Load Index (Dual): The maximum load capacity rating per tyre when configured in a "dual" (twin-tyre) setup, common on light trucks. Speed Rating: An alphabetical letter indicating the maximum certified speed the tyre can safely sustain under its recommended load.
114T XL
OD
Overall Diameter
The total height of the tyre from top to bottom in millimetres when fully inflated without a load.
Rim Width
The manufacturer-approved wheel rim range for safe mounting, spanning from the Minimum Rim Width to the Maximum Rim Width.
7.5 - 9.5
Load & Speed Rating
Load & Speed RatingLoad Index (Single): A numerical code indicating the maximum weight capacity this single tyre can safely support. Load Index (Dual): The maximum load capacity rating per tyre when configured in a "dual" (twin-tyre) setup, common on light trucks. Speed Rating: An alphabetical letter indicating the maximum certified speed the tyre can safely sustain under its recommended load.
111T
OD
Overall Diameter
The total height of the tyre from top to bottom in millimetres when fully inflated without a load.
Rim Width
The manufacturer-approved wheel rim range for safe mounting, spanning from the Minimum Rim Width to the Maximum Rim Width.
7.5 - 9.5
Load & Speed Rating
Load & Speed RatingLoad Index (Single): A numerical code indicating the maximum weight capacity this single tyre can safely support. Load Index (Dual): The maximum load capacity rating per tyre when configured in a "dual" (twin-tyre) setup, common on light trucks. Speed Rating: An alphabetical letter indicating the maximum certified speed the tyre can safely sustain under its recommended load.
113T
OD
Overall Diameter
The total height of the tyre from top to bottom in millimetres when fully inflated without a load.
Rim Width
The manufacturer-approved wheel rim range for safe mounting, spanning from the Minimum Rim Width to the Maximum Rim Width.
7.5 - 9.5
Load & Speed Rating
Load & Speed RatingLoad Index (Single): A numerical code indicating the maximum weight capacity this single tyre can safely support. Load Index (Dual): The maximum load capacity rating per tyre when configured in a "dual" (twin-tyre) setup, common on light trucks. Speed Rating: An alphabetical letter indicating the maximum certified speed the tyre can safely sustain under its recommended load.
117T XL
OD
Overall Diameter
The total height of the tyre from top to bottom in millimetres when fully inflated without a load.